I never knew lemon bars could be so simple to make until I was in my thirties. Growing up, these tangy treats only came from the local bakery, where my mom would buy them for special occasions. When I tried making them at home, they always turned out too runny or the crust was burnt.
Turns out I was making things way harder than they needed to be. The secret isn’t fancy ingredients or complicated techniques – it’s just about getting the basics right. Once you nail the ratio of lemon to sugar and learn the right baking time, these bars are actually pretty hard to mess up. Now they’re one of my go-to desserts when I need something reliable that everyone loves.
Why You’ll Love These Lemon Bars
- Perfect balance of flavors – These bars hit all the right notes with their buttery shortbread crust and tangy-sweet lemon filling that makes your taste buds dance.
- Make-ahead friendly – You can bake these bars a day in advance and store them in the fridge, making them perfect for parties or when you want to plan ahead.
- Simple ingredients – Everything you need is likely already in your pantry, except maybe the lemons – and using fresh lemon juice makes all the difference.
- Crowd-pleasing dessert – These lemon bars are always a hit at potlucks, bake sales, or family gatherings – people just can’t resist that perfect combination of shortbread and citrus.
- No fancy equipment needed – Just a bowl, a pan, and a whisk are all you need to create these classic treats.
What Kind of Lemons Should I Use?
Regular grocery store lemons (usually Eureka or Lisbon varieties) work perfectly fine for these lemon bars, but Meyer lemons can add an interesting twist if you can find them. Meyer lemons are slightly sweeter and less acidic than regular lemons, with an almost orange-like quality to their flavor. For this recipe, you’ll need about 3-4 large lemons to get both the juice and zest required – just make sure to choose fruits that feel heavy for their size and have a bright, smooth skin. When zesting, remember to only get the yellow part of the peel since the white pith underneath can add unwanted bitterness to your bars. If you’re buying lemons specifically for this recipe, pick ones that give slightly when gently squeezed, as they’ll yield more juice.
Options for Substitutions
While lemon bars are pretty specific in their ingredients, there are still some swaps you can try:
- All-purpose flour: You can use pastry flour for a more tender crust, or a 1-to-1 gluten-free flour blend if you need to make these gluten-free. Just make sure it’s a blend that contains xanthan gum.
- Lemons: The fresh lemon juice and zest are really essential here – I wouldn’t recommend using bottled juice as it won’t give you that same bright flavor. However, you can experiment with other citrus like lime or Meyer lemons for a fun twist.
- Confectioners’ sugar: If you’re out of powdered sugar, you can make your own by blending granulated sugar in a food processor until very fine. For the topping, you could also use granulated sugar, though the texture will be different.
- Unsalted butter: If you only have salted butter, that’s fine – just reduce the added salt by 1/4 teaspoon. For dairy-free options, coconut oil can work in the crust, though the texture will be slightly different.
- Eggs: The eggs are crucial for the structure of these bars and can’t be substituted. Make sure they’re at room temperature for the best results.
Watch Out for These Mistakes While Baking
The biggest challenge when making lemon bars is achieving the perfect crust – overbaking it will make it too hard and crumbly, so remove it from the oven as soon as the edges turn light golden brown, usually around 20-22 minutes.
Temperature control is crucial for the lemon filling – if your eggs aren’t at room temperature, they can cause the filling to bake unevenly, so take them out of the fridge at least 30 minutes before starting, and always strain your lemon juice to remove pulp and seeds that could affect the smooth texture.
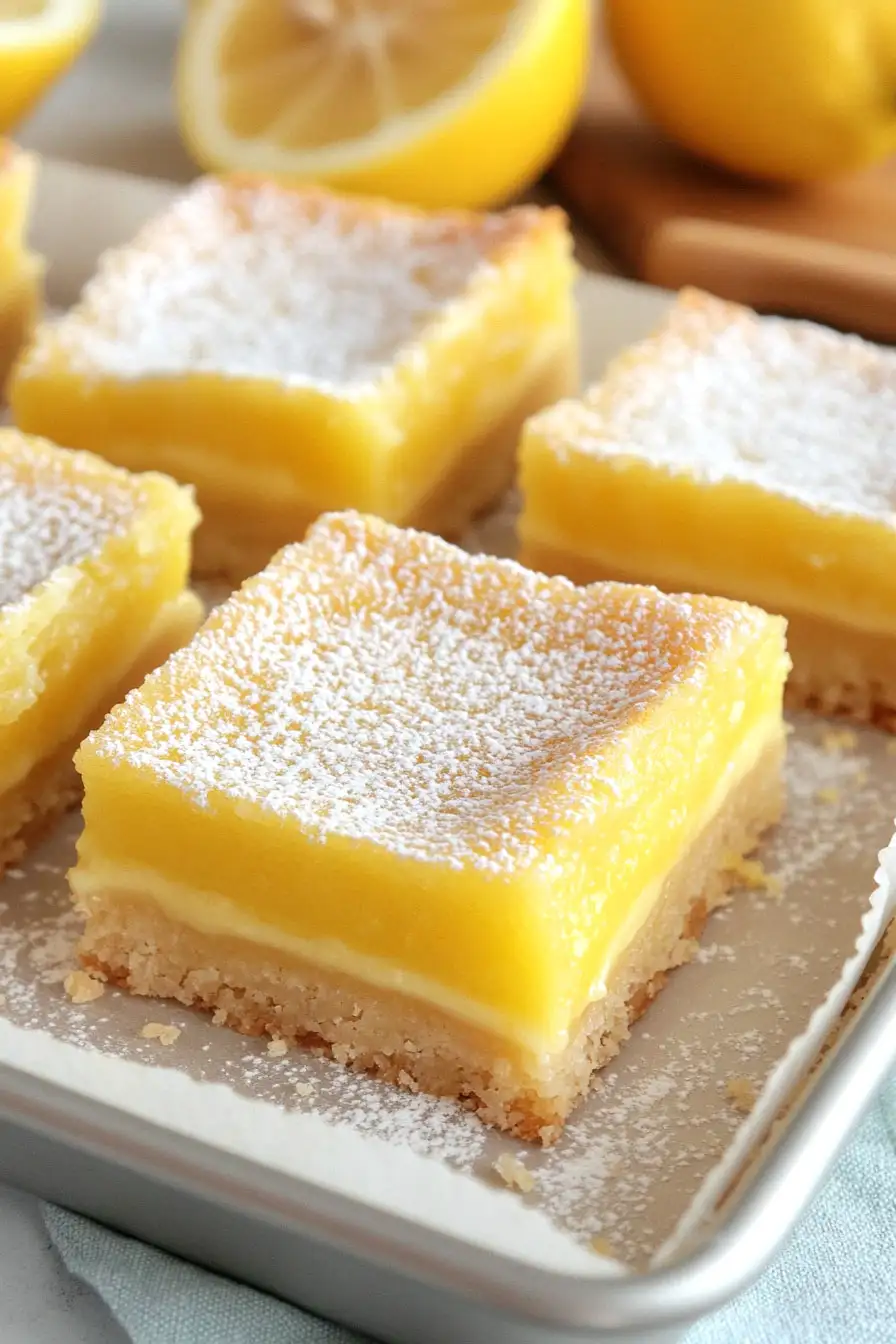
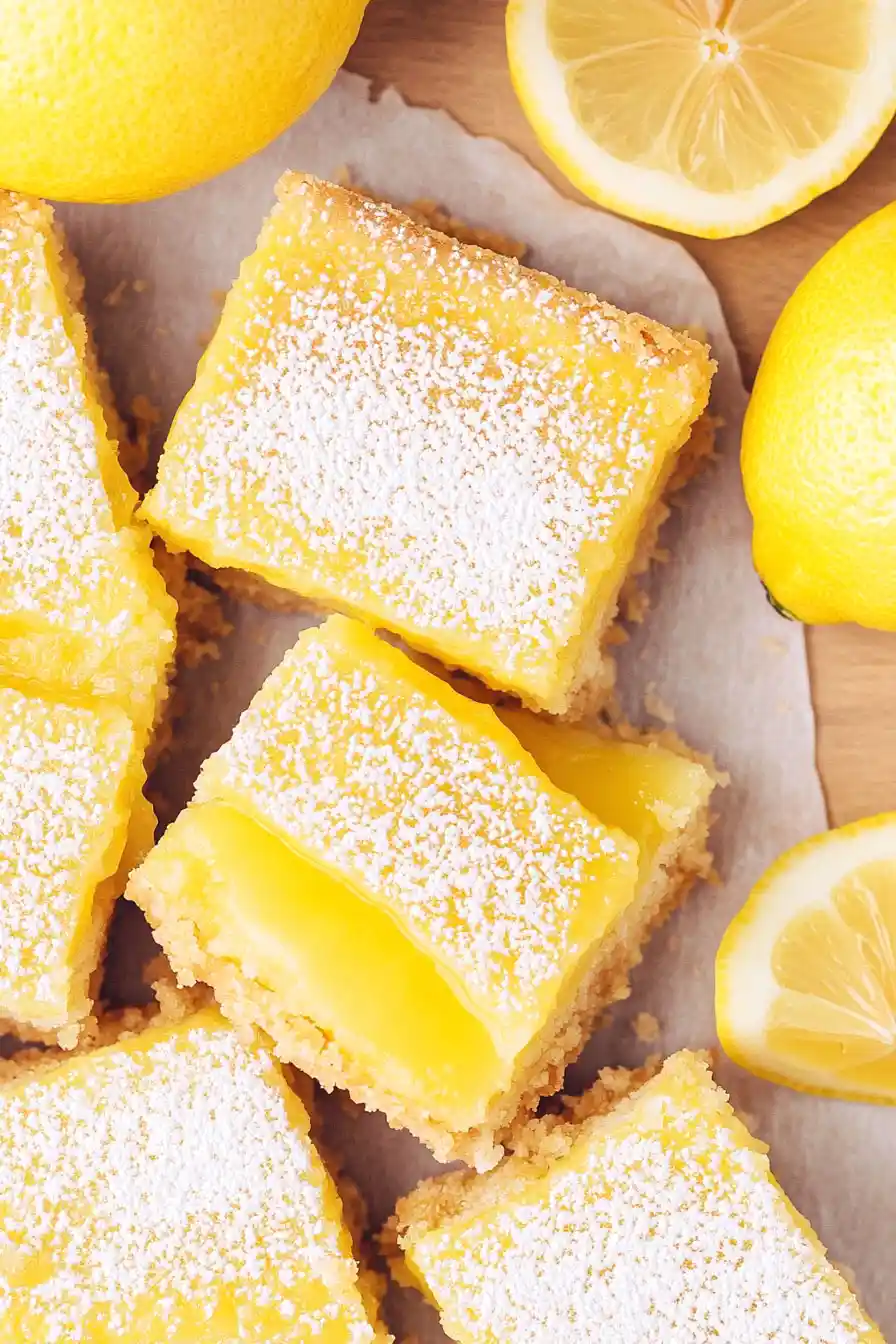
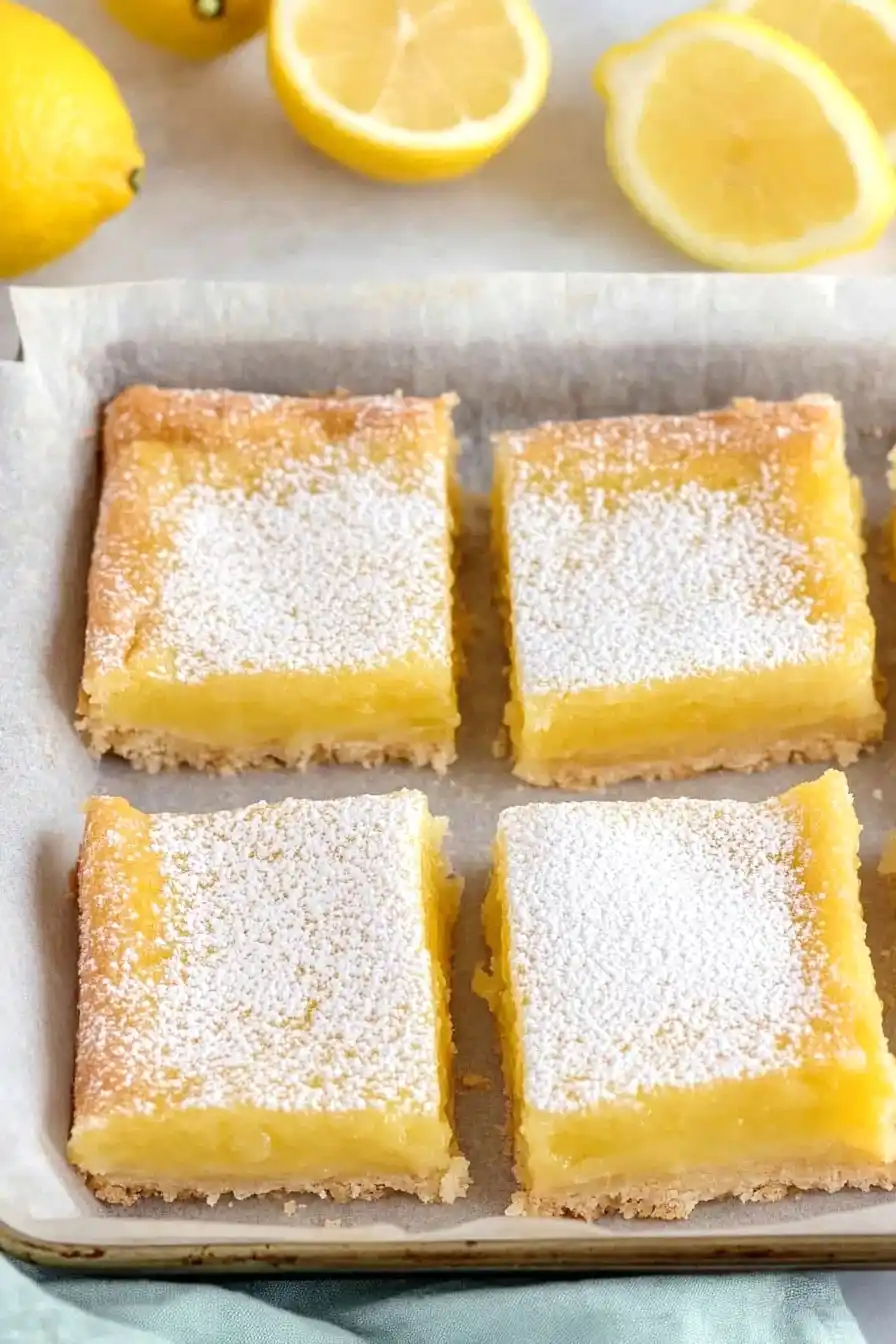
Many bakers rush the cooling process, but letting your lemon bars cool completely (at least 2 hours) before cutting is essential – if you try to cut them while warm, you’ll end up with messy edges and filling that oozes out.
For clean, professional-looking cuts, wipe your knife with a damp cloth between each slice, and wait to dust with powdered sugar until right before serving, as it tends to dissolve into the filling over time.
What to Serve With Lemon Bars?
These tangy-sweet lemon bars are perfect on their own, but they really shine when paired with the right accompaniments! A hot cup of Earl Grey tea or coffee helps balance out the citrusy sweetness, making it a perfect afternoon treat. For a lovely dessert spread, try serving these bars alongside fresh berries – raspberries and blackberries work especially well with the lemon flavor. If you’re hosting a dessert party, these bars fit right in next to other small treats like shortbread cookies or chocolate truffles, giving your guests different flavor options to try.
Storage Instructions
Keep Fresh: These lemon bars stay good in an airtight container in the fridge for up to 5 days. I like to place pieces of parchment paper between layers to prevent them from sticking together. The powdered sugar might dissolve a bit in the fridge, but you can always add a fresh dusting before serving!
Freeze: Cut your lemon bars into squares and freeze them in a freezer-safe container with parchment paper between layers for up to 3 months. Skip the powdered sugar until you’re ready to serve them. They’re actually pretty tasty straight from the freezer if you like a cold treat!
Thaw: When you’re craving a lemon bar from the freezer, just transfer it to the fridge overnight or let it sit at room temperature for about 30-45 minutes. Once thawed, dust with fresh powdered sugar and they’ll taste just like they were freshly baked!
| Preparation Time | 20-30 minutes |
| Cooking Time | 45-55 minutes |
| Total Time | 65-85 minutes |
| Level of Difficulty | Medium |
Estimated Nutrition
Estimated nutrition for the whole recipe (without optional ingredients):
- Calories: 4200-4600
- Protein: 60-70 g
- Fat: 240-250 g
- Carbohydrates: 500-520 g
Ingredients
For the crust:
- 2.5 cups all-purpose flour
- 1/2 tsp salt
- 12 tbsp unsalted butter (I like Kerrygold unsalted butter for this)
- 2/3 cup confectioners’ sugar
For the filling:
- 3 cups granulated sugar
- 8 large eggs (room temperature for better emulsification)
- 3 tbsp lemon zest (finely grated, from about 3-4 lemons)
- 1 cup lemon juice (freshly squeezed for best flavor)
- 1/2 cup all-purpose flour
For dusting:
- confectioners’ sugar
Step 1: Prepare the Baking Dish and Preheat Oven
Heat your oven to 350°F (175°C).
Line a 9×13-inch baking dish with parchment paper, ensuring the paper extends over the edges for easy removal later.
Step 2: Make the Crust
In a large bowl, whisk together 2 1/2 cups of flour (300g), powdered sugar, and salt.
Pour in the melted butter and mix until just combined.
You can also do this using a stand mixer with a paddle attachment.
If desired, add a dash of vanilla with the butter.
Sprinkle the dough into your lined pan, pressing it down into a flat, even layer.
Bake the crust at 350°F for about 20 minutes or until it’s a light golden color.
Step 3: Prepare the Lemon Sugar
While the crust is baking, combine sugar with the zest of three lemons in a food processor.
Pulse until the zest is fully incorporated, and the sugar turns a light yellow color.
If you don’t have a food processor, finely mince the zest and mix it with the sugar in a bag or bowl.
Step 4: Make the Lemon Filling
Add the zesty sugar and the remaining half cup of flour to a large bowl and mix well.
Pour in the lemon juice and add the eggs.
Mix thoroughly until the ingredients are completely combined into a smooth filling.
Step 5: Bake the Lemon Bars
Pour the lemon filling onto the warm crust.
Transfer the dish back to the oven and bake for about 25 minutes, turning halfway through the bake to ensure even cooking.
Remove the baking dish from the oven and allow the lemon bars to cool at room temperature for about an hour before chilling them in the refrigerator for an additional two hours.
Step 6: Finish and Serve
Once chilled, dust the top of the lemon bars with powdered sugar.
Use a clean, sharp, and damp knife to cut the bars, cleaning and re-wetting the knife after each cut to ensure clean edges.
Serve and enjoy your homemade lemon bars!
