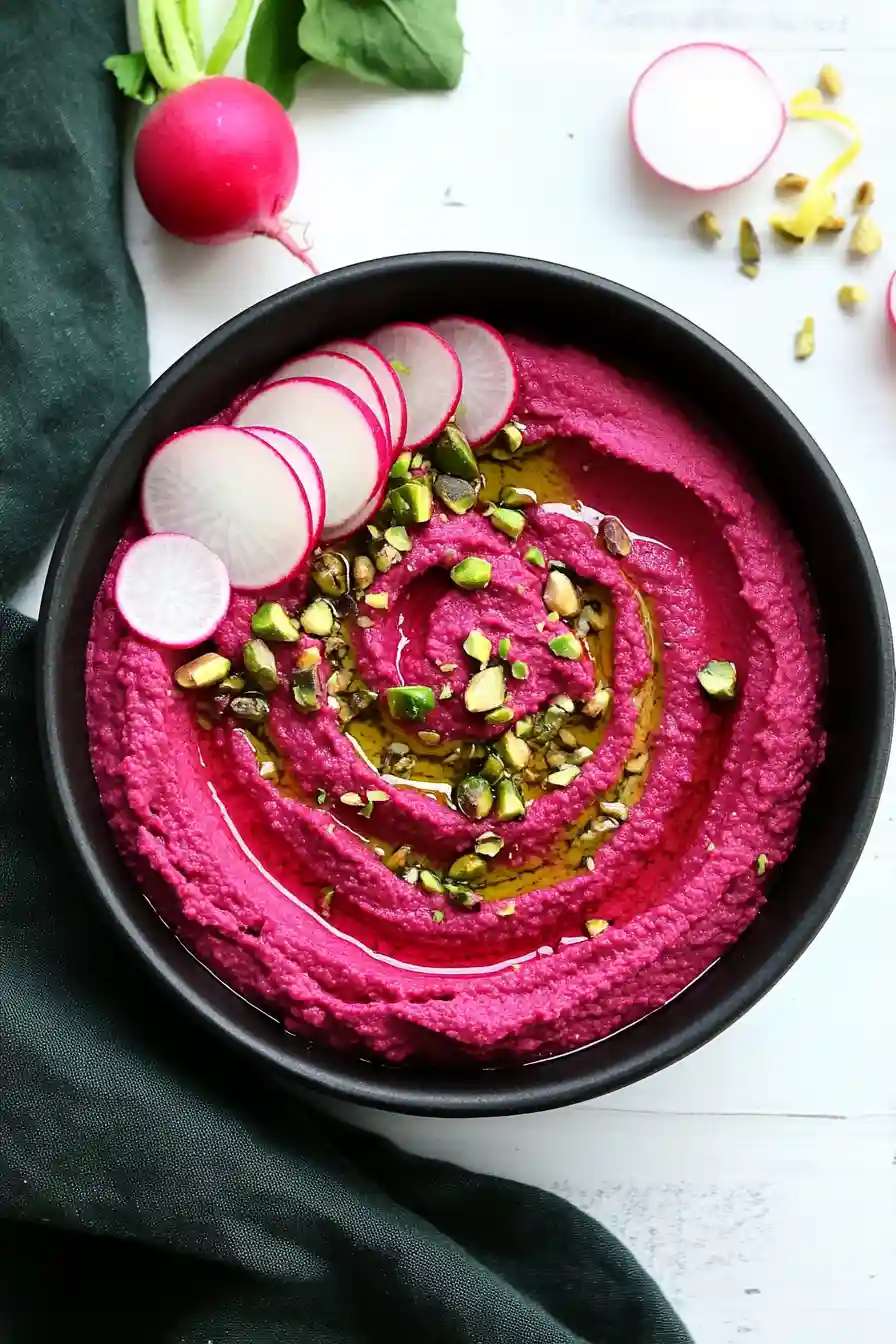
Here’s my go-to recipe for lemon beet hummus, made with fresh chickpeas, earthy beets, bright lemon, and just the right amount of tahini and garlic to bring it all together.
This pink-tinted hummus has become my weekly staple for lunch boxes and afternoon snacks. I often make a double batch because it disappears so quickly – especially when served with warm pita bread and fresh vegetables. Perfect for dipping, wouldn’t you agree?
Why You’ll Love This Beet Hummus
- Quick and easy – This colorful dip comes together in just 10-15 minutes – perfect for last-minute entertaining or a quick healthy snack.
- Nutritious ingredients – Packed with protein from white beans, healthy fats from tahini and olive oil, and antioxidants from beets, this hummus is as good for you as it is tasty.
- Make-ahead friendly – You can prepare this hummus in advance and store it in the fridge for up to 5 days, making it perfect for meal prep or party planning.
- Naturally vegan and gluten-free – This recipe fits into many dietary preferences without any special adjustments needed.
What Kind of Beetroot Should I Use?
For this hummus recipe, you’ll want to look for medium-sized red beets that feel firm and heavy for their size. While you can use either regular red beets or golden beets, the traditional red variety will give your hummus that stunning pink color that makes this dish so special. Fresh beets from your local grocery store or farmers market work perfectly – just make sure they don’t have any soft spots or blemishes. If you’re short on time, pre-cooked vacuum-packed beets are a totally acceptable shortcut, though they might be slightly less flavorful than fresh ones. Just avoid canned beets, as they can be too watery and may make your hummus runny.
Options for Substitutions
This colorful hummus recipe is pretty adaptable – here’s what you can switch up:
- White beans: While this recipe uses white beans, you can easily swap them for traditional chickpeas. Just make sure to save some of the liquid (aquafaba) for the right consistency.
- Beetroot: Fresh beets are best, but in a time crunch, you can use pre-cooked vacuum-packed beets. Just avoid pickled beets as they’ll change the flavor too much. If you’re not a beet fan, try roasted red pepper instead.
- Tahini: Tahini is pretty important for authentic hummus flavor, but if you’re in a bind, you can use unsweetened sunflower seed butter. The flavor will be different, but still tasty.
- Lemon juice: Fresh is best, but bottled lemon juice works too. You could also try lime juice for a different citrus kick.
- Toppings: The radish and parsley are just garnishes – feel free to skip them or swap with other crunchy vegetables like cucumber, or herbs like cilantro or dill.
Watch Out for These Mistakes While Making
The biggest challenge when making beet hummus is achieving the right consistency – adding all the liquid at once can make it too runny, so start with half the recommended bean water and add more gradually until you reach your desired texture.
Another common mistake is not cooking the beetroot long enough, which can leave you with grainy hummus – make sure your beet is fork-tender and completely cooled before blending, as hot ingredients can affect the overall texture and color.
The garlic flavor can quickly overpower your hummus, so remove the green sprout (germ) from the center of your garlic clove first, and if you find your hummus is too thick after chilling, don’t add water right away – try stirring in a little extra olive oil instead, which will help maintain that silky-smooth texture.
For the best flavor development, let your hummus rest in the fridge for at least 30 minutes before serving, allowing all those wonderful flavors to meld together.

What to Serve With Beet Hummus?
This bright pink hummus makes such a fun and tasty dip for your snack spread! For a classic approach, serve it with a variety of fresh veggies like cucumber slices, carrot sticks, bell peppers, and celery – they add great crunch and freshness to each bite. Warm pita bread or pita chips are perfect for scooping up this creamy dip, or try it with some crispy crackers or toasted baguette slices. You can also use this hummus as a spread on sandwiches or wraps instead of mayo, or dollop it onto a grain bowl for extra flavor and protein.
Storage Instructions
Keep Fresh: This pretty pink hummus stays good in the fridge for up to 5 days when kept in an airtight container. The lemon juice helps preserve the bright color, but you might notice it gets a bit darker on top after a day or two – that’s totally normal! Just give it a quick stir before serving.
Make Ahead: You can definitely prep this hummus in advance for parties or weekly meal prep. If you’re planning to serve it to guests, I recommend making it the day before and adding the toppings (olive oil drizzle, radishes, and parsley) just before serving to keep everything looking fresh.
Portion: For easy grab-and-go snacks, divide the hummus into smaller containers. Add a splash of olive oil on top of each portion – this creates a barrier that helps prevent the hummus from drying out and keeps it fresh longer.
| Preparation Time | 10-15 minutes |
| Cooking Time | 0 minutes |
| Total Time | 10-15 minutes |
| Level of Difficulty | Easy |
Estimated Nutrition
Estimated nutrition for the whole recipe (without optional ingredients):
- Calories: 800-900
- Protein: 30-35 g
- Fat: 55-65 g
- Carbohydrates: 60-70 g
Ingredients
- fresh parsley (finely chopped, for garnish)
- olive oil (for drizzling)
- 1 large lemon (freshly juiced for best zestiness)
- 15 oz cooked white beans (such as cannellini or great northern, rinsed and drained)
- red radish (thinly sliced for garnish)
- 1 tsp fine sea salt
- 8 tbsp chilled starchy water (reserved from cooking the beans to help with emulsification)
- 1/4 cup extra virgin olive oil
- 1 medium beetroot (boiled and peeled until fork-tender)
- 1 medium garlic clove (de-germed for a milder flavor)
- 1/4 cup tahini (I use Soom Foods tahini for its smooth texture)
Step 1: Blend the Ingredients
In a food processor, combine peeled beets, extra virgin olive oil, cooked or canned white beans, garlic, tahini, lemon juice, and salt.
Blend the ingredients together until smooth.
During blending, you may need to pause and scrape down the sides of the food processor to ensure everything is thoroughly mixed.
Step 2: Adjust Consistency
After blending, check the consistency of your mixture.
If it’s too thick, gradually add some of the liquid from the white beans.
Add the liquid in small amounts, about 8 tablespoons in total, until you achieve the desired smoothness.
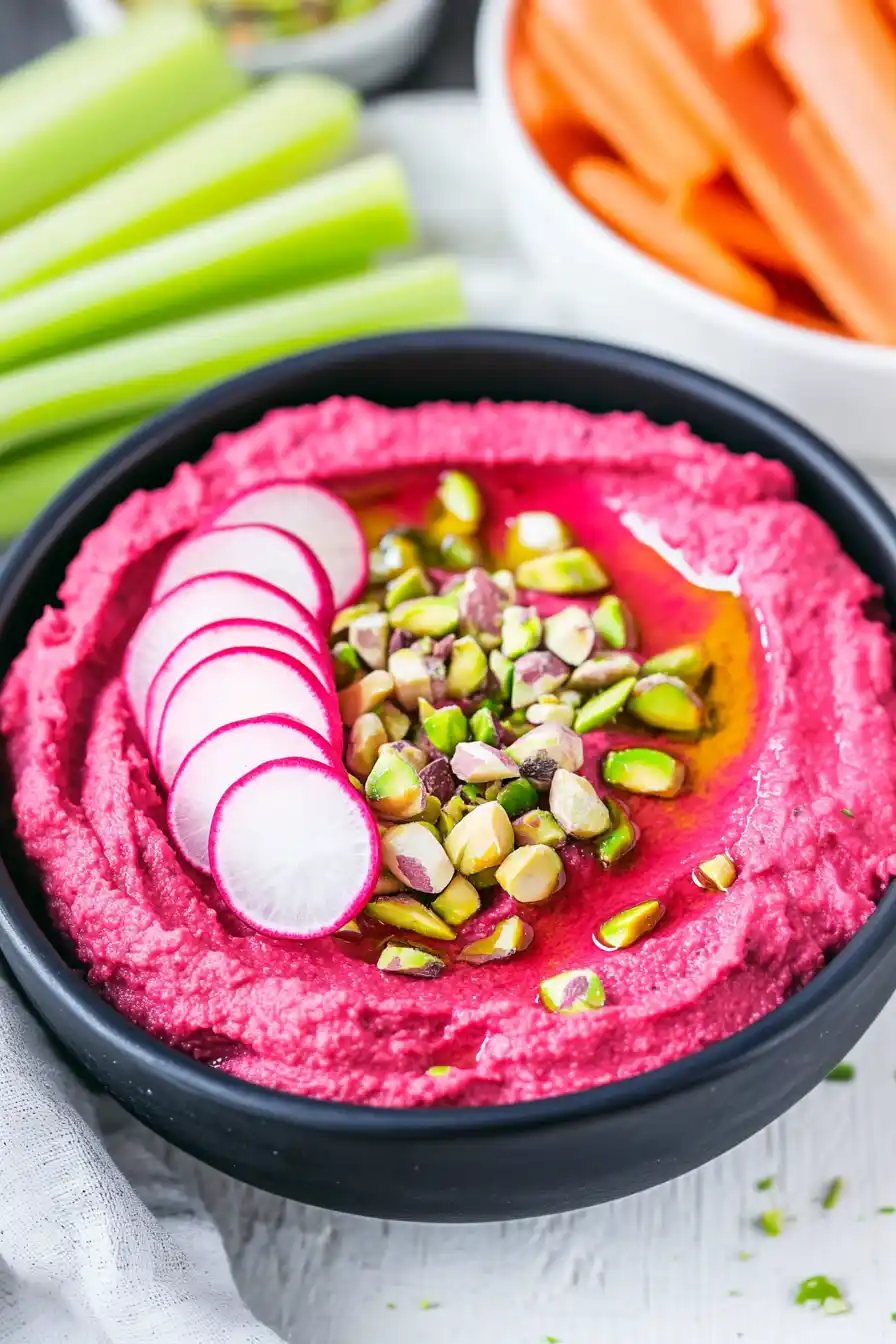
Step 3: Serve and Garnish
Transfer the blended mixture into a small bowl.
Drizzle with extra virgin olive oil for added richness.
Refer to the post suggestions for additional serving and garnishing ideas to elevate your dish even further.
