Looking for a fresh way to use up those extra radishes from your garden or farmers market haul? We’ve all been there – staring at a bunch of crisp radishes in the fridge, wondering what to do beyond adding them to salads. After trying countless ways to put them to good use, I stumbled upon this radish relish recipe that’s become a regular in my kitchen.
This tangy, crunchy relish is exactly what you need to jazz up sandwiches, hot dogs, or burgers. It’s quick to throw together, keeps well in the fridge, and helps you make the most of those bright little vegetables before they go soft in your produce drawer.
Why You’ll Love This Radish Relish
- Quick preparation – Ready in less than 30 minutes, this relish is perfect for last-minute gatherings or when you need a quick condiment for your meal.
- Make-ahead friendly – You can prepare this relish in advance and store it in the fridge, where it gets even better as the flavors meld together over time.
- No special equipment needed – Using basic kitchen tools and simple ingredients, you can create this tangy condiment without any fancy gadgets or hard-to-find items.
- Versatile topping – This zesty relish adds a perfect crunch and tang to sandwiches, hot dogs, burgers, or any dish that needs a bright, fresh kick.
What Kind of Radishes Should I Use?
For this relish recipe, regular red round radishes (also called Cherry Belle radishes) from your local grocery store work perfectly fine. While you could use other varieties like French Breakfast radishes or Watermelon radishes, the common red round ones are ideal because they’re crisp, have a consistent flavor, and are usually the most affordable option. If your radishes come with the greens still attached, make sure they’re fresh and crisp – this is usually a good sign that the radishes themselves are fresh too. Just remember to trim off the greens and root ends before slicing, and give them a good wash to remove any dirt that might be hiding in the crevices.
Options for Substitutions
This zesty relish recipe can be adapted with several simple swaps if needed:
- Radishes: While radishes give this relish its signature crunch and bite, you can use daikon radish or even turnips if regular radishes aren’t available. Just make sure to slice them thinly.
- Pickled jalapenos: Not a fan of jalapenos? Try fresh serrano peppers, banana peppers, or even a pinch of red pepper flakes. For less heat, use mild green chilies.
- Apple cider vinegar: White wine vinegar works perfectly here, or try rice vinegar for a milder taste. Regular white vinegar is okay too, though it’s a bit sharper.
- Yellow mustard seeds: Brown mustard seeds can replace yellow ones – they’ll give a slightly stronger flavor. If you’re out of mustard seeds completely, use 1 tablespoon of prepared mustard instead.
- Dried dill: Fresh dill works great – use 1½ teaspoons chopped fresh dill. Or swap it out for dried tarragon or fennel fronds for a different but complementary flavor.
- Celery seeds: If you don’t have celery seeds, you can use ground celery salt – just reduce the amount of kosher salt in the recipe by half.
Watch Out for These Mistakes While Cooking
The biggest mistake when making radish relish is slicing your radishes too thick, which prevents them from properly absorbing the pickling liquid – aim for thin, uniform slices about 1/8 inch thick using a sharp knife or mandoline. The second common error is not letting the vinegar mixture cool slightly before pouring it over the vegetables, which can result in a mushy texture instead of that perfect pickle crunch. For the best flavor development, resist the urge to eat the relish right away – letting it rest in the refrigerator for at least 24 hours allows the spices to fully infuse and the flavors to meld together properly. If you’re planning to can this relish, make sure your jars are properly sterilized and sealed to prevent any spoilage, and always use fresh spices since old ones can make your relish taste flat or stale.
What to Serve With Radish Relish?
This tangy and crunchy radish relish is perfect for jazzing up your everyday sandwiches and hot dogs! The zippy flavor works great as a topping for grilled bratwurst, hamburgers, or even fish tacos – basically anywhere you’d use regular pickle relish. I love adding a spoonful to tuna salad or egg salad sandwiches for extra crunch and zing. You can also serve it alongside grilled meats or roasted chicken as a bright, pickled condiment that cuts through rich flavors, or spoon it over cream cheese with crackers for an easy appetizer.
Storage Instructions
Keep Fresh: This zesty radish relish needs to be refrigerated in an airtight jar or container. When properly stored, it’ll stay good in the fridge for up to 3 weeks. The flavors actually get better after a few days as everything mingles together!
Can: If you’re into canning, you can process this relish in sterilized jars using a water bath method. Once properly sealed and processed, the jars will keep at room temperature for up to 1 year. Just remember to refrigerate after opening.
Serve: Take the relish out of the fridge about 15 minutes before serving to let it come closer to room temperature – this helps the flavors really shine. Give it a quick stir before serving to redistribute all those tasty spices and vegetables.
| Preparation Time | 10-15 minutes |
| Cooking Time | 10-12 minutes |
| Total Time | 20-27 minutes |
| Level of Difficulty | Easy |
Estimated Nutrition
Estimated nutrition for the whole recipe (without optional ingredients):
- Calories: 400-450
- Protein: 5-10 g
- Fat: 0-5 g
- Carbohydrates: 100-110 g
Ingredients
- 2 tbsp seeded pickled jalapenos (I use La Costeña brand)
- 1 cup apple cider vinegar
- 2 tsp kosher salt (Diamond Crystal recommended)
- 1/2 tsp dried dill
- 2 tbsp yellow mustard seeds
- 1 tsp celery seeds
- 1 red onion (thinly sliced)
- 1/2 cup granulated sugar
- 3 cups sliced radishes (about 1.5 lbs, thinly sliced)
- 2 garlic cloves (minced for best flavor)
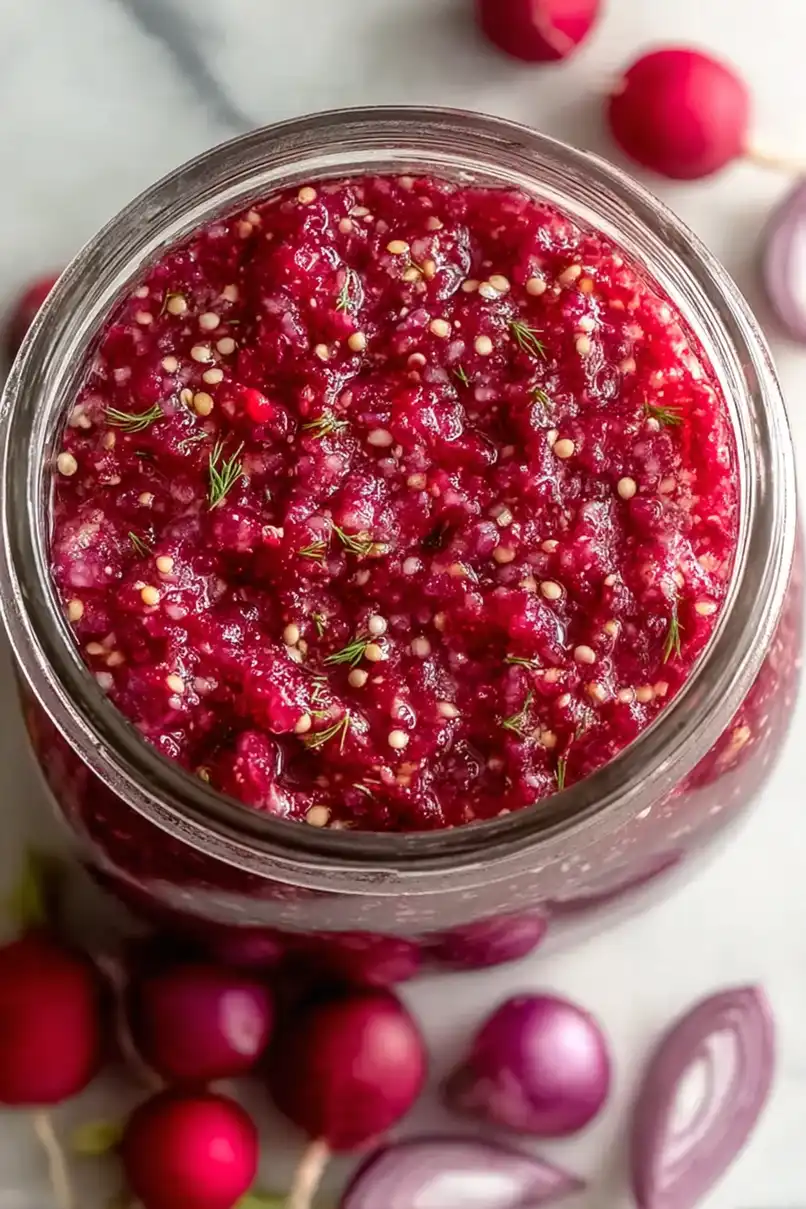
Step 1: Prepare the Vegetables
Start by processing the stemmed, scrubbed, and sliced radishes, quartered red onion, and deseeded jalapeno in a blender or food processor.
Pulse until the mixture is finely chopped, ensuring an even texture for the relish.
Step 2: Cook the Mixture
Transfer the finely chopped radish mixture to a stockpot.
Add vinegar, sugar, garlic, salt, mustard seeds, celery seeds, and dill weed to the pot.
Bring the mixture to a boil over medium heat on the stove.
Stir occasionally as it cooks for about 10-12 minutes, allowing the flavors to meld together and the mixture to thicken slightly.
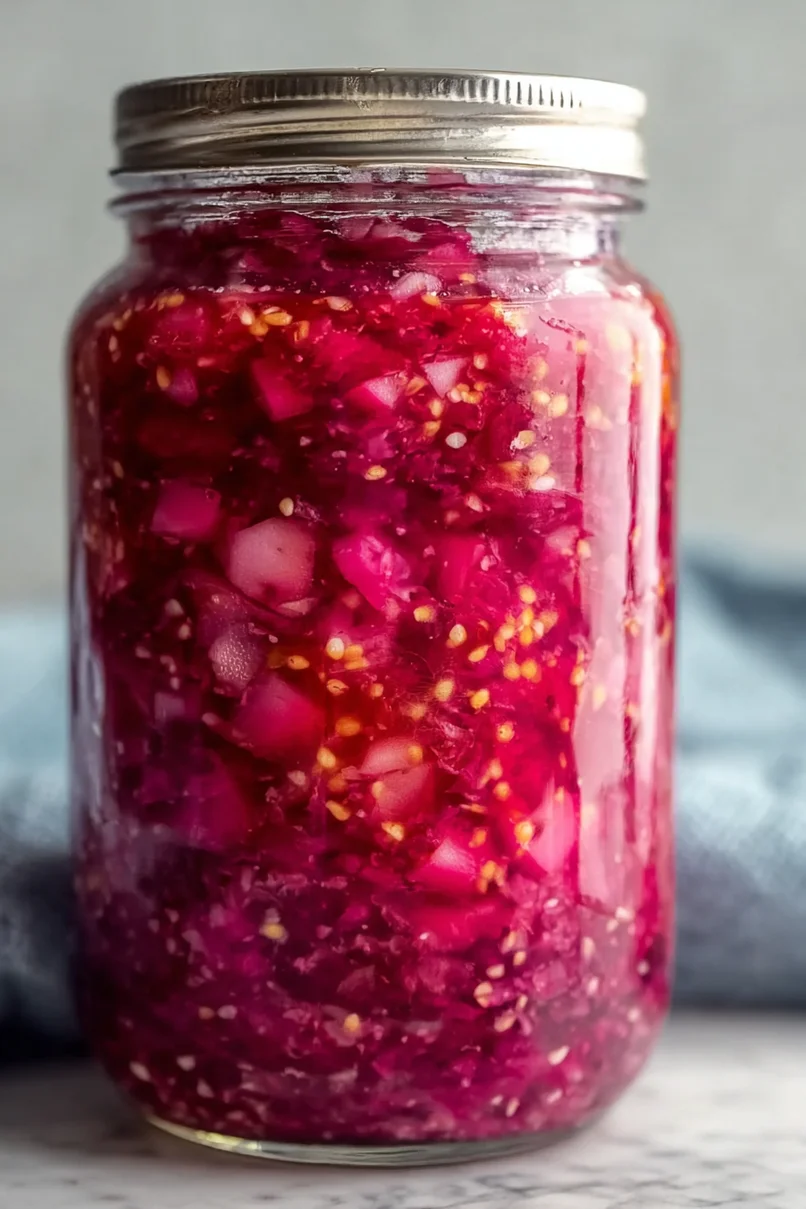
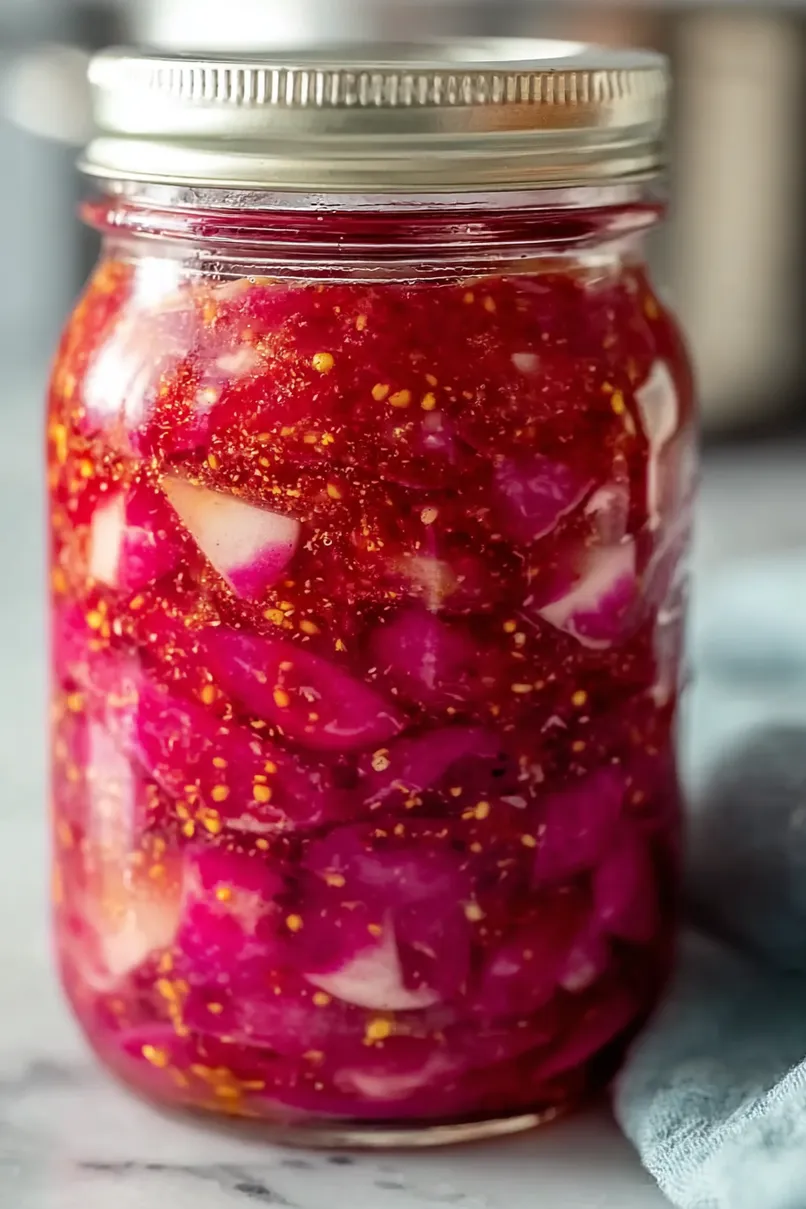
Step 3: Store the Relish
Once the cooking time is up, remove the pot from heat.
Allow the mixture to cool briefly before transferring it to an airtight jar.
Store the jar in the fridge to let the relish continue developing its flavors.
Enjoy this zesty radish relish as a condiment on your favorite dishes!