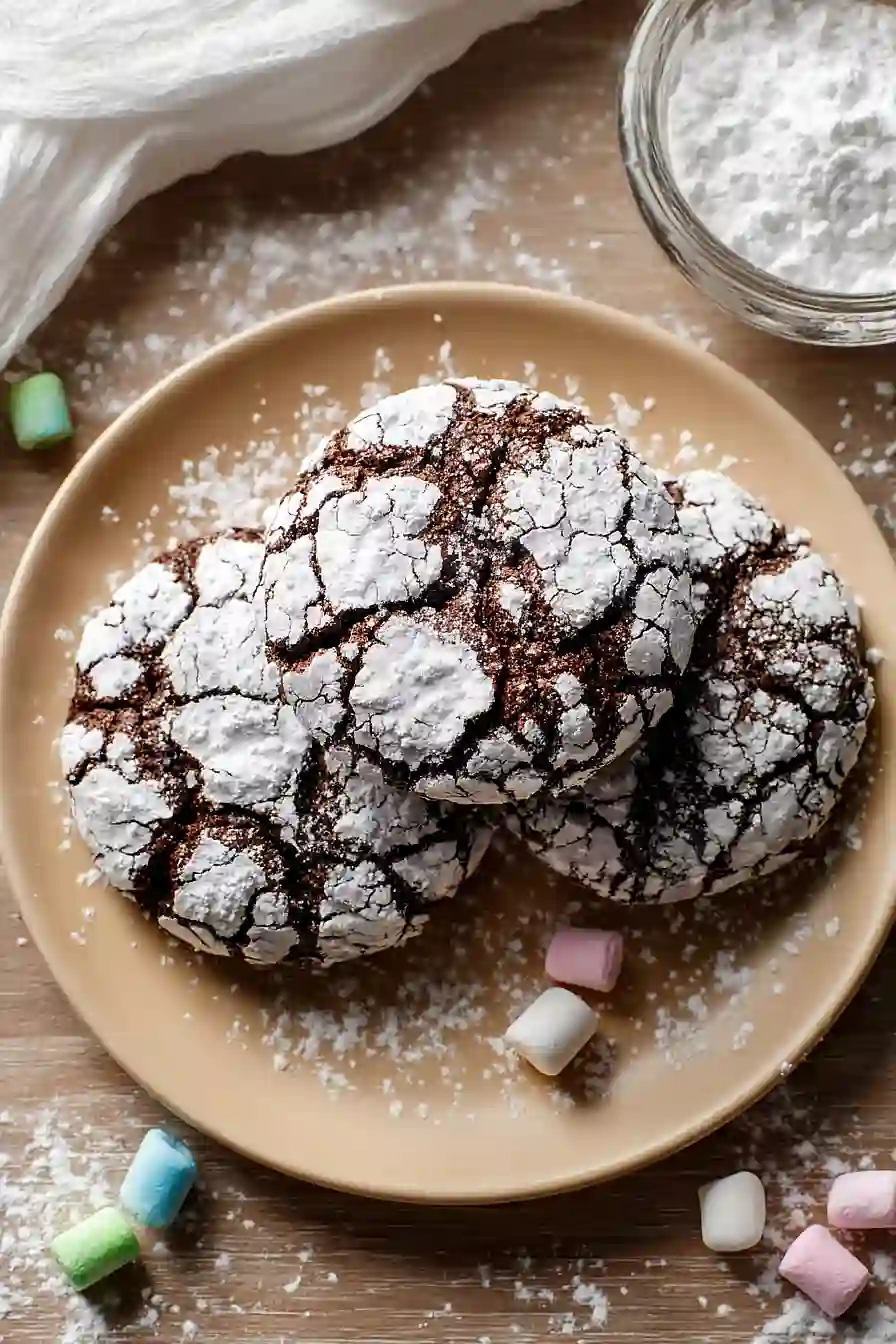
If you ask me, chocolate crinkle cookies are one of the best treats to bake when you’re short on time.
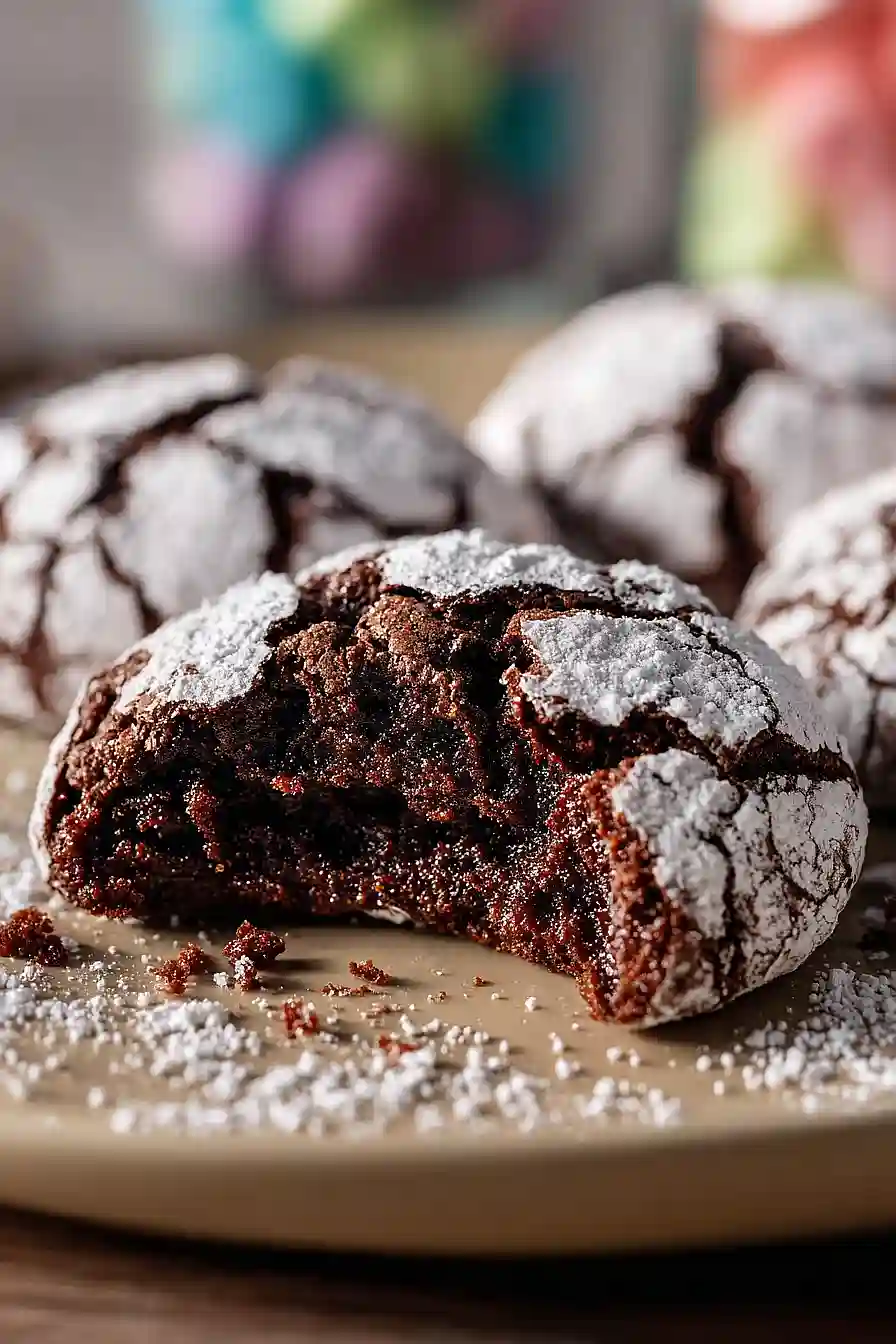
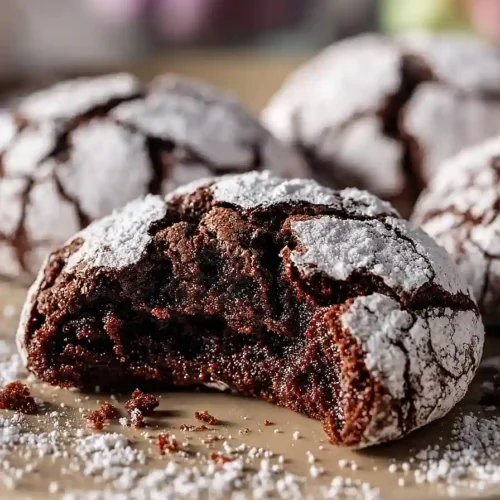
These chewy chocolate cookies get their classic crackled look from a coating of powdered sugar that splits open as they bake. Rich cocoa flavor meets a soft, brownie-like center in every bite.
The best part? There’s no chilling the dough required. You can mix up a batch and have warm cookies in your hands in under 30 minutes.
They’re made with basic pantry ingredients and a bit of oil instead of butter. Perfect for when a chocolate craving hits and you don’t want to wait.
Why You’ll Love These Chocolate Crinkle Cookies
- No chilling required – Unlike traditional crinkle cookies that need hours in the fridge, you can mix these up and bake them right away, making them perfect for last-minute cravings or unexpected guests.
- Ready in under 35 minutes – From mixing bowl to cooling rack, these cookies are done in less time than it takes to watch your favorite show.
- Rich chocolate flavor – The cocoa powder gives these cookies a deep, fudgy taste that chocolate lovers will go crazy for.
- Simple pantry ingredients – You probably have everything you need already in your kitchen, so there’s no special shopping trip required.
- Beautiful presentation – The classic crackled powdered sugar coating makes these cookies look bakery-worthy with minimal effort.
What Kind of Cocoa Powder Should I Use?
For chocolate crinkle cookies, you can use either natural or Dutch-process cocoa powder, and both will give you delicious results. Natural cocoa powder will give you a slightly more intense, fruity chocolate flavor, while Dutch-process cocoa creates a smoother, mellower taste with a darker color. Whatever you choose, just make sure your cocoa powder is fresh and hasn’t been sitting in the back of your pantry for years – old cocoa can taste flat and won’t give you that rich chocolate punch you’re looking for. If you’re unsure which type you have, check the label or just go with what’s available at your store, since this recipe works great with either one.

Options for Substitutions
These cookies are pretty forgiving when it comes to swaps, so here are some options if you need them:
- Light olive oil: You can use avocado oil, vegetable oil, or melted coconut oil instead. If you prefer butter, use 1/4 cup melted butter, but note that the cookies might spread a bit more.
- Eggs: For each egg, you can substitute with 1 flax egg (1 tablespoon ground flaxseed mixed with 3 tablespoons water, let sit for 5 minutes). The texture will be slightly denser but still good.
- Unsweetened cocoa powder: Regular unsweetened cocoa powder is best here – don’t substitute with sweetened cocoa mix as it will throw off the sugar balance and texture of the cookies.
- All-purpose flour: You can use a 1:1 gluten-free baking flour if needed. Whole wheat flour works too, but use 3/4 cup plus 2 tablespoons since it’s denser.
- Powdered sugar: The powdered sugar coating is what gives these cookies their signature crinkle look, so I wouldn’t skip it. If you’re out, you can make your own by blending granulated sugar with a bit of cornstarch in a blender.
Watch Out for These Mistakes While Baking
The biggest mistake with chocolate crinkle cookies is rolling them in powdered sugar when the dough is too warm, which causes the sugar to melt and disappear during baking – make sure your dough balls are cool to the touch before coating them.
Another common error is skipping the double coating process: roll each cookie first in granulated sugar, then generously in powdered sugar to get those signature crackly white tops.
Overbaking these cookies will turn them dry and hard instead of soft and fudgy, so pull them from the oven when they still look slightly underdone in the center – they’ll continue cooking on the baking sheet and firm up as they cool.
Finally, don’t flatten the dough balls before baking, as the cookies need to spread and crack naturally in the oven to create those beautiful crinkles.
What to Serve With Chocolate Crinkle Cookies?
These cookies are perfect alongside a cold glass of milk – seriously, the combo of rich chocolate and creamy milk is unbeatable. I also love serving them with hot coffee or a mug of hot chocolate for an extra cozy treat, especially during the colder months. If you’re putting together a dessert spread, they pair nicely with vanilla ice cream or fresh berries like strawberries and raspberries. For a fun party idea, set out a platter of these cookies with some whipped cream for dipping, or arrange them on a cookie board with other treats like brownies and shortbread.
Storage Instructions
Store: These chocolate crinkle cookies stay soft and chewy when kept in an airtight container at room temperature for up to 5 days. Just make sure they’re completely cooled before storing, or they’ll get sticky from the steam.
Freeze: You can freeze baked cookies in a freezer-safe container with parchment paper between layers for up to 3 months. They thaw quickly at room temperature in about 20 minutes, making them perfect for when unexpected guests drop by.
Make Ahead: If you want to prep the dough ahead, you can shape it into balls and freeze them on a baking sheet, then transfer to a freezer bag. Bake straight from frozen, adding just a minute or two to the baking time.
| Preparation Time | 15-20 minutes |
| Cooking Time | 10-15 minutes |
| Total Time | 25-35 minutes |
| Level of Difficulty | Easy |
Estimated Nutrition
Estimated nutrition for the whole recipe (without optional ingredients):
- Calories: 1700-1850
- Protein: 18-22 g
- Fat: 48-54 g
- Carbohydrates: 315-340 g
Ingredients
For the dough:
- 1/4 tsp salt
- 1 tsp baking powder
- 3/4 cup sugar
- 1 cup flour (all-purpose, spooned and leveled)
- 2 eggs (room temperature)
- 1 tsp vanilla extract
- 1/4 cup light olive oil (or neutral oil like canola)
- 1/2 cup unsweetened cocoa powder (natural or Dutch-processed, for deeper chocolate flavor)
For the coating:
- 1/3 cup powdered sugar (sifted to prevent lumps)
- 2 tbsp sugar
Step 1: Prepare Your Workspace and Oven
Preheat your oven to 350°F and line a baking sheet with parchment paper or a silicone mat.
While the oven heats, set out two small bowls for your coating ingredients—this is your mise en place for the final coating step, which makes the process smooth and efficient.
Step 2: Prepare the Coating Bowls
- 2 tbsp sugar
- 1/3 cup powdered sugar
In one small bowl, combine the 2 tablespoons of sugar.
In a second small bowl, sift the powdered sugar to remove any lumps (sifting is essential here because lumps won’t adhere evenly to the dough).
Having these prepped and waiting makes the rolling process quick and keeps your hands from getting too messy.
Step 3: Build the Chocolate Dough Base
- 1/2 cup unsweetened cocoa powder
- 3/4 cup sugar
- 1/4 cup light olive oil
In a medium mixing bowl, whisk together the cocoa powder, 3/4 cup sugar, and olive oil until well combined and the mixture resembles wet sand.
This initial step coats the cocoa particles in oil, which helps distribute the chocolate flavor evenly throughout the dough and prevents dry pockets in the finished cookies.
Step 4: Incorporate Wet Ingredients
- chocolate mixture from Step 3
- 2 eggs
- 1 tsp vanilla extract
Add the room-temperature eggs one at a time to the chocolate mixture from Step 3, mixing well after each addition, then mix in the vanilla extract.
Room-temperature eggs emulsify better and create a smoother dough—I always let my eggs sit out for 15-20 minutes before baking because the difference in texture is noticeable.
Step 5: Add Dry Ingredients and Form Dough
- wet mixture from Step 4
- 1 cup flour
- 1 tsp baking powder
- 1/4 tsp salt
Sift the flour, baking powder, and salt together, then fold this dry mixture into the wet mixture from Step 4 until just combined—don’t overmix, as this keeps the cookies tender.
The dough should come together easily and be slightly sticky; if it seems too wet, let it rest for 2-3 minutes and the flour will continue to hydrate.
Step 6: Shape and Coat the Cookies
- dough from Step 5
- coating ingredients from Step 2
Scoop the dough into 1 1/2-inch balls (a cookie scoop works perfectly for uniform size).
Working with one ball at a time, first roll it in the granulated sugar from the first bowl, then roll it in the sifted powdered sugar from the second bowl—the granulated sugar helps the powdered sugar adhere better and creates that signature crinkled appearance when the cookies bake.
Place each coated ball on your prepared baking sheet about 2 inches apart.
Step 7: Bake and Cool
Bake for 10 minutes at 350°F—the cookies should look slightly underdone on top, which is exactly what you want.
Let them cool on the baking sheet for 5-10 minutes (they’ll continue to cook slightly from residual heat), then transfer to a wire rack.
I find that leaving them on the sheet for that short rest prevents them from spreading too much and helps them set properly before moving them.
30-Minute No Chill Chocolate Crinkle Cookies
Ingredients
For the dough:
- 1/4 tsp salt
- 1 tsp baking powder
- 3/4 cup sugar
- 1 cup flour (all-purpose, spooned and leveled)
- 2 eggs (room temperature)
- 1 tsp vanilla extract
- 1/4 cup light olive oil (or neutral oil like canola)
- 1/2 cup unsweetened cocoa powder (natural or Dutch-processed, for deeper chocolate flavor)
For the coating:
- 1/3 cup powdered sugar (sifted to prevent lumps)
- 2 tbsp sugar
Instructions
- Preheat your oven to 350°F and line a baking sheet with parchment paper or a silicone mat. While the oven heats, set out two small bowls for your coating ingredients—this is your mise en place for the final coating step, which makes the process smooth and efficient.
- In one small bowl, combine the 2 tablespoons of sugar. In a second small bowl, sift the powdered sugar to remove any lumps (sifting is essential here because lumps won't adhere evenly to the dough). Having these prepped and waiting makes the rolling process quick and keeps your hands from getting too messy.
- In a medium mixing bowl, whisk together the cocoa powder, 3/4 cup sugar, and olive oil until well combined and the mixture resembles wet sand. This initial step coats the cocoa particles in oil, which helps distribute the chocolate flavor evenly throughout the dough and prevents dry pockets in the finished cookies.
- Add the room-temperature eggs one at a time to the chocolate mixture from Step 3, mixing well after each addition, then mix in the vanilla extract. Room-temperature eggs emulsify better and create a smoother dough—I always let my eggs sit out for 15-20 minutes before baking because the difference in texture is noticeable.
- Sift the flour, baking powder, and salt together, then fold this dry mixture into the wet mixture from Step 4 until just combined—don't overmix, as this keeps the cookies tender. The dough should come together easily and be slightly sticky; if it seems too wet, let it rest for 2-3 minutes and the flour will continue to hydrate.
- Scoop the dough into 1 1/2-inch balls (a cookie scoop works perfectly for uniform size). Working with one ball at a time, first roll it in the granulated sugar from the first bowl, then roll it in the sifted powdered sugar from the second bowl—the granulated sugar helps the powdered sugar adhere better and creates that signature crinkled appearance when the cookies bake. Place each coated ball on your prepared baking sheet about 2 inches apart.
- Bake for 10 minutes at 350°F—the cookies should look slightly underdone on top, which is exactly what you want. Let them cool on the baking sheet for 5-10 minutes (they'll continue to cook slightly from residual heat), then transfer to a wire rack. I find that leaving them on the sheet for that short rest prevents them from spreading too much and helps them set properly before moving them.
